How to Install a New Bathroom Faucet
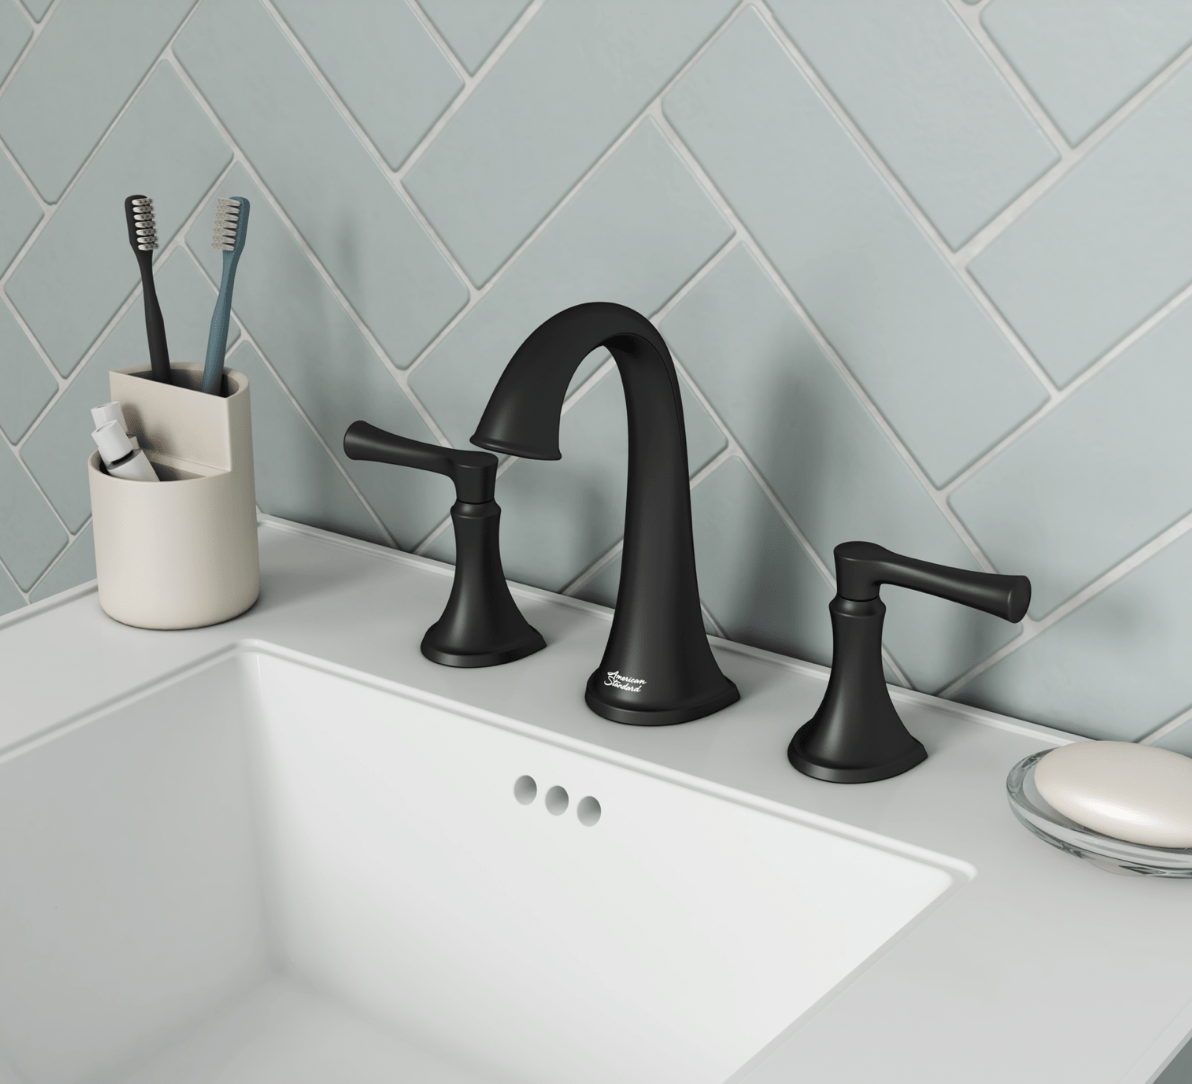
STEP 1 - Choose the perfect faucet for your space
Although purchasing and installing a new faucet is an exciting task, it may also become challenging depending on different factors for your bathroom and plumbing set up. Follow our helpful guide in selecting the perfect faucet for your space and avoid installation headaches by visiting this blog before proceeding.
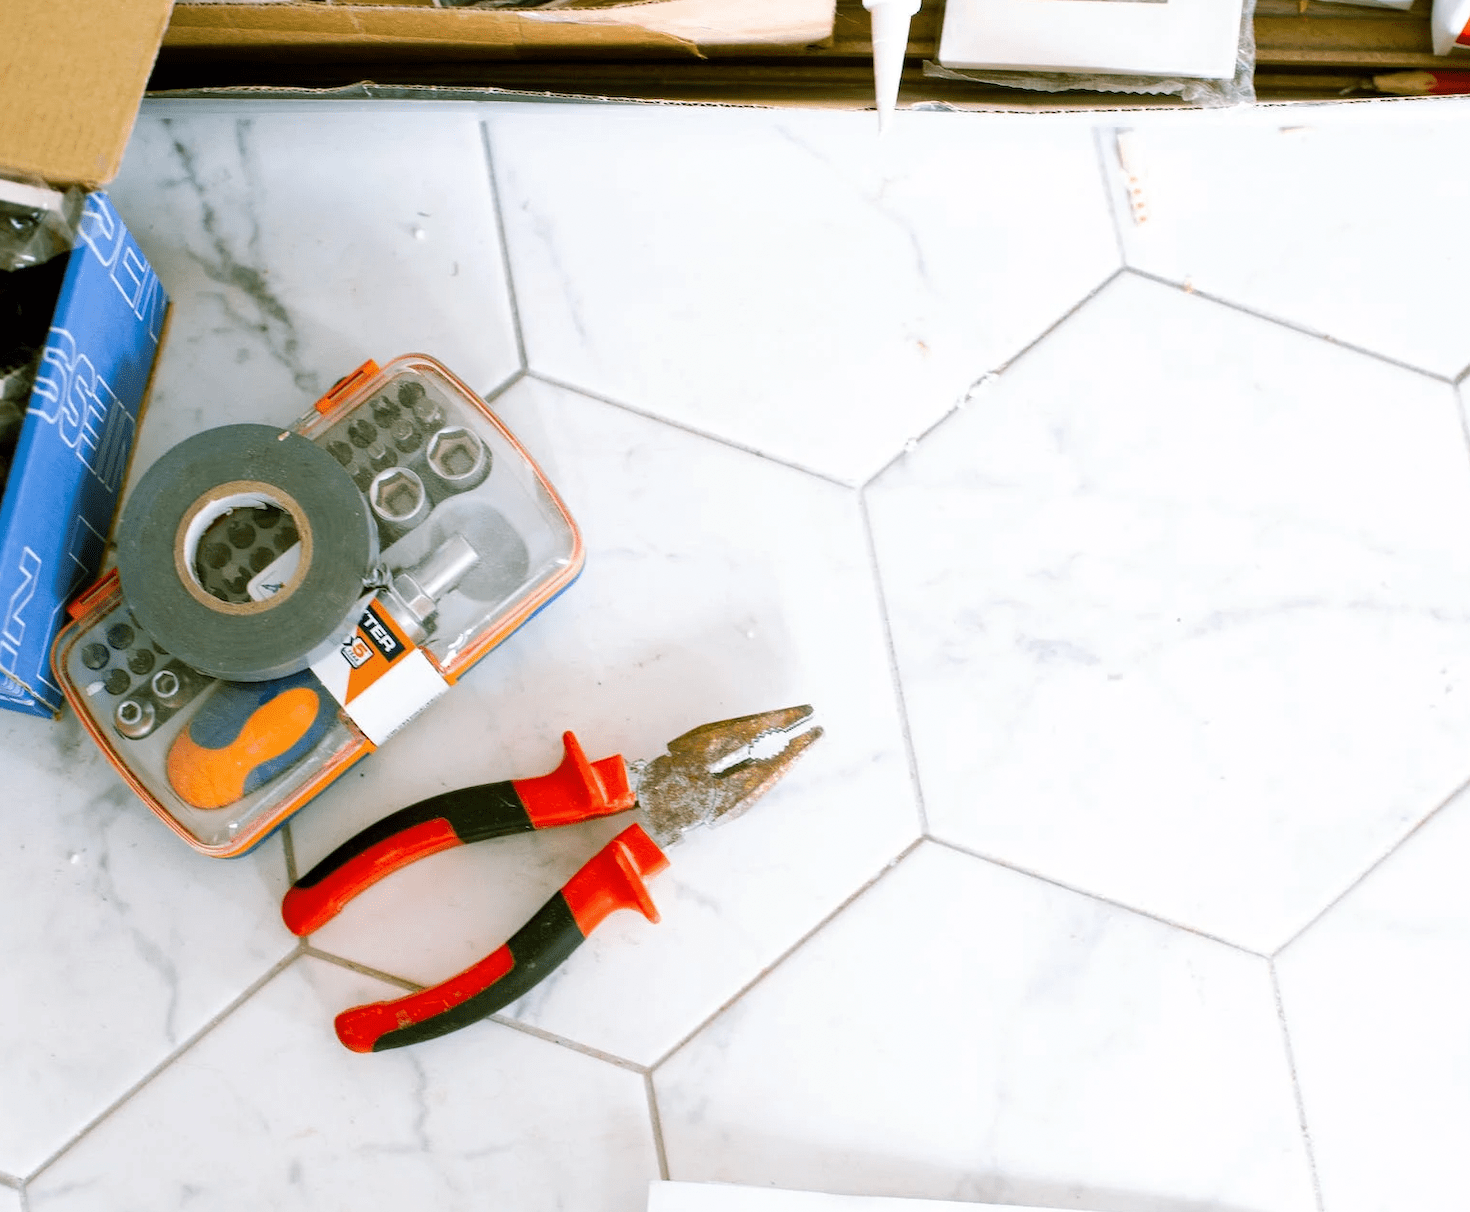
STEP 2 - Gather all of the necessary materials and tools
Before you begin the installation process, make sure you have the following items handy:
• Basic wrench - designed to fit over the faucet stem
• Wrench or pliers - to loosen the old faucet from the sink
• Replacement washers
• Screwdriver - allows you to adjust the valves on your sink
• New nuts - to attach the new faucet to your sink
• Plumber’s putty/silicone sealant
• Putty knife
• Pipe tape
• Rags
• Bucket
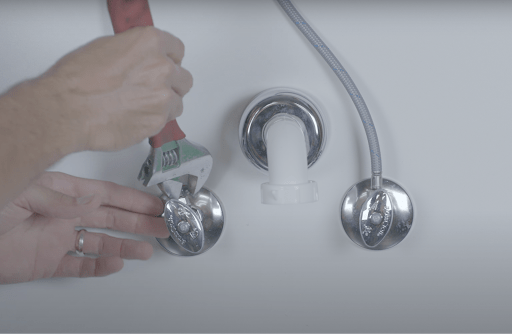
STEP 3 - Turn off the water supply
STEP 4 - Remove existing faucet
You will then need to remove the existing bathroom faucet from its mounting brackets by unscrewing them from their holes in the countertop or wall. You may need to use a wrench or screwdriver to loosen them depending on the type of hardware that was used during installation.
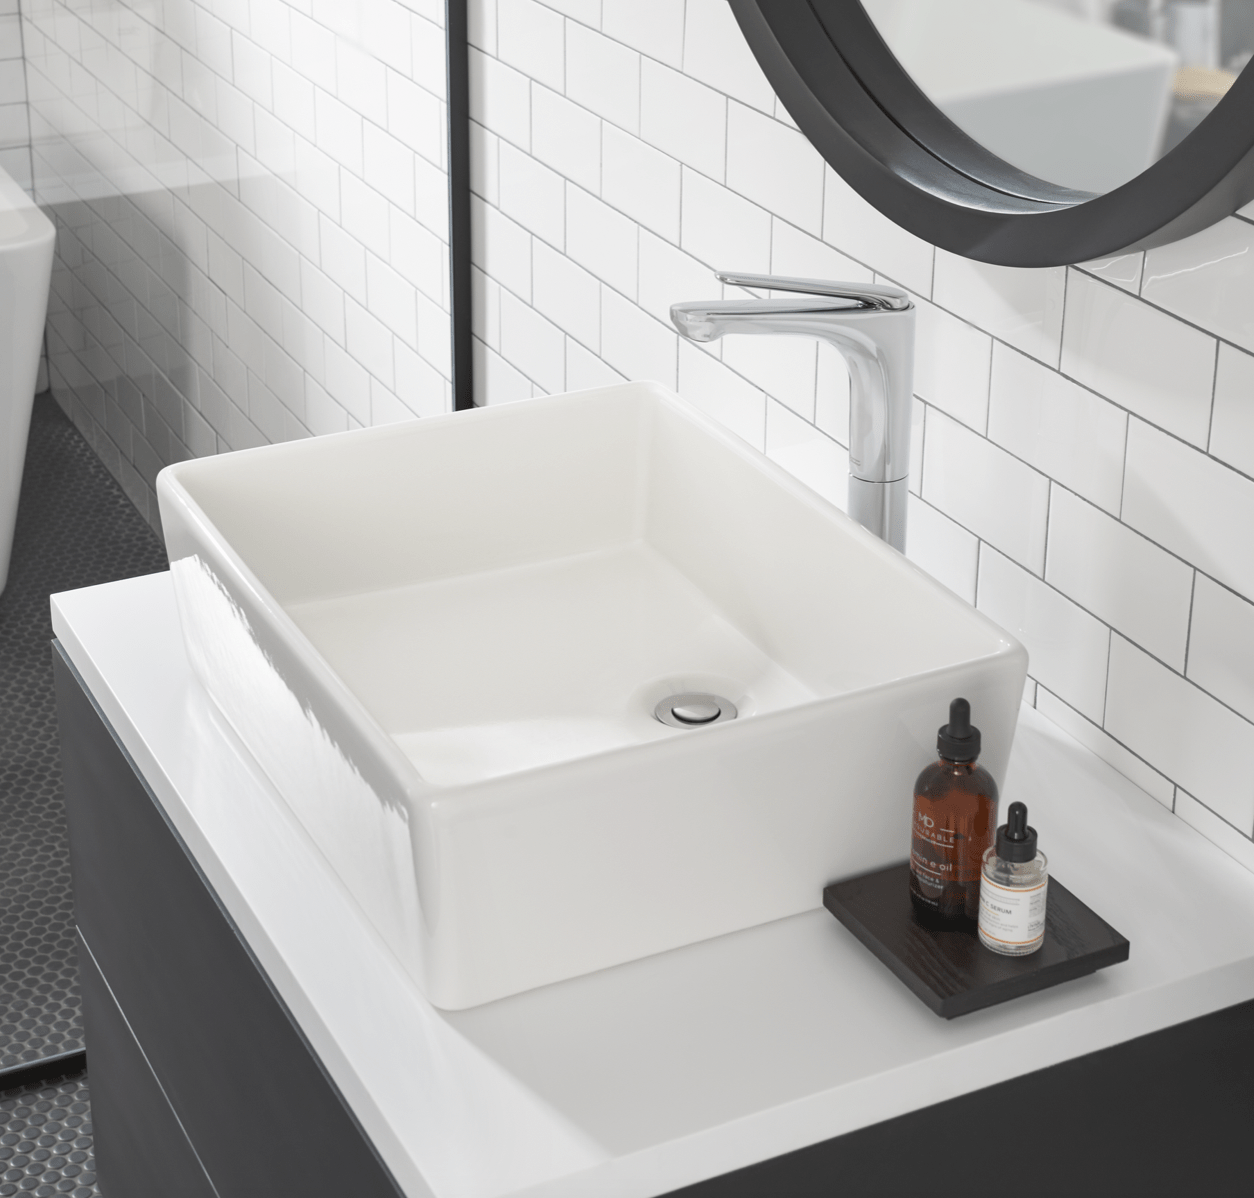
STEP 5 - Assemble and place new faucet
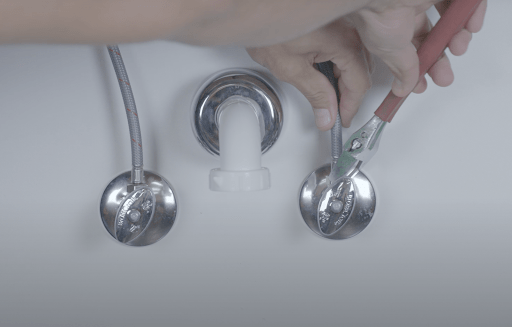
STEP 6 - Tighten the basin nuts

STEP 7 - Connect water supply and check for leaks
Before proceeding with this step, ensure that steps 2-6 have been completed correctly. Once that has been confirmed, you can turn on the water supply gradually. Don’t forget to carefully inspect the area around the connections and base of the faucet for any leakage signs. If leaks are detected, tighten the connections further. If water is flowing smoothly, you have successfully installed your brand new bathroom faucet!
Related Posts:


Learn More from American Standard


